We love our vintage furniture. Did you know that we not only sell these items, we've actually refurbished these pieces in-house. Our designers source out their favorite pieces and take what others see as shabby into something we all love - Shabby Chic!
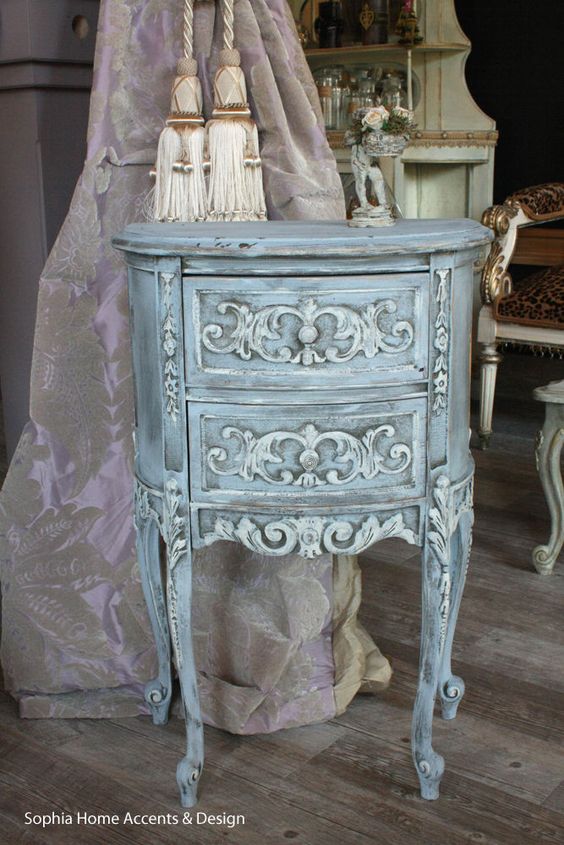
This is the after image of our Shabby Chic Antiqued French Blue Vintage Side Table - perfect for an all white room adding just a pop of color to make the room chic interesting. Imagine a fluffy down comforter covered in soft white linen covers (which is is all the rage these days for that Antiqued French lived in design style). This would be a great time to white wash all your favorite small items and even cover your home library books with white wrapping paper as a quick accent to your room. Hmm.. maybe even a blue paper cover?
Here we have the refurbished side table painted in Annie Sloan's Chalk Paint and antiqued the edges for a finishing touch. It sits in our showroom in front of our purple silk curtains.
Here are the steps.
1. CLEAN - Clean off dust, rust or anything that might be sticky from your vintage item.
2. SAND - Use a medium sandpaper sheet to clean down the edges, prepping your item for paint. If you have a varnished or lacquered piece you're working with, you might want to upgrade to a handheld sander machine. I would ask your local hardware store if they can lend you one - possibly for a small fee.
3. WIPE - Use a dry rag or old cotton shirt to wipe off the
4. APPLY - Find a paint color you love. We used Annie Sloan's Chalk paint for that super matte look with little effort.
As a rough guide, one litre of Chalk Paint® covers aproximately 13 square metres, or the equivalent of a small dresser. For most purposes, one coat of paint is enough. Chalk Paint® adheres to almost any surface, and there is rarely any need to sand or prime before painting.
To get started, tip pot upside down and shake before use. Then open and stir well. If paint is too thick just add a little water and stir. Apply the paint little by little with a dry brush till you lightly coat the whole object.
5. DRY - Let it air dry in well ventilated room for at least 1-3 hours depending on your location and air moisture.
6. APPLY - Add a second coat of your paint if its not the desired color you're looking for. Or, you may choose an accent color, but start off lightly or test in a corner not easily visible.
7. DRY - Let your 2nd coat or accent color dry again like step 5.
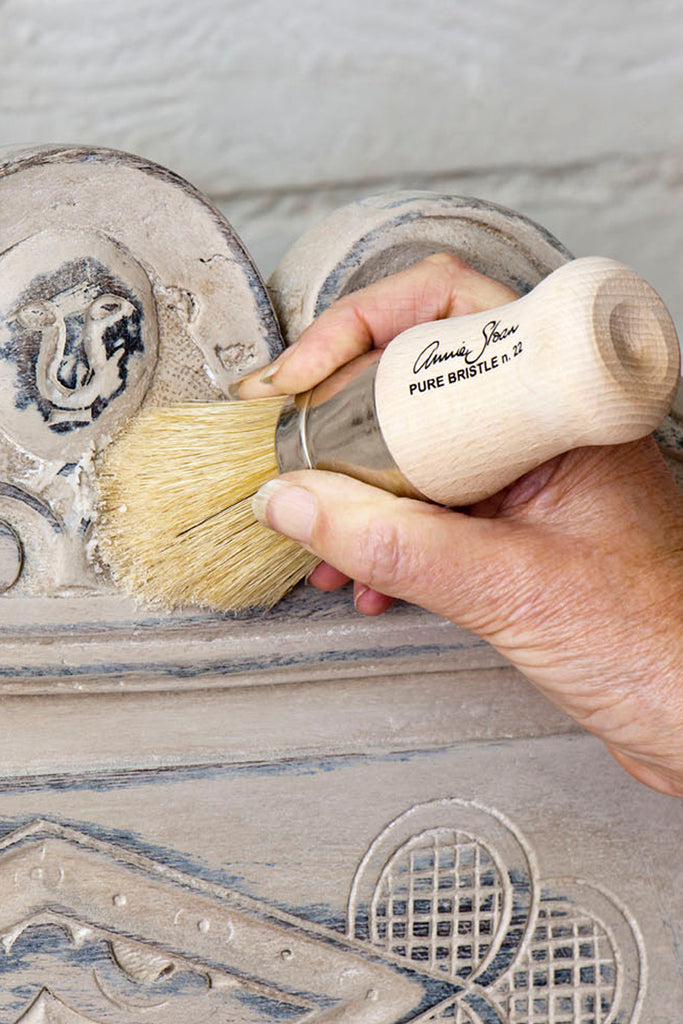
8. SOFT WAX COAT - Try using a soft wax coat also found in the Annie Sloan paint line. Use a dry brush of your choice or the Wax Brush and wipe the edges of your furniture with the wax slightly till you see your desired distressed look.
9. FINAL DRY - After you’ve applied Annie Sloan Soft Wax, you’ll find that it will become dry to the touch very quickly. At this stage, it is still what you might call ‘soft’. It will start to harden as the solvents in the wax evaporate. This hardening process is known as ‘curing’. Curing can take between 5 and 21 days depending on ambient temperature.
Of course, you can use your finished piece straight away, but you may need to treat it with extra care up until the wax has cured completely (you might want to use coasters, avoid sharp objects etc). Once cured, a piece of furniture finished with Chalk Paint® and finished with Soft Wax will stand up to normal wear and tear.
There you have it. Let us know if you have any more questions. You can leave a comment below.

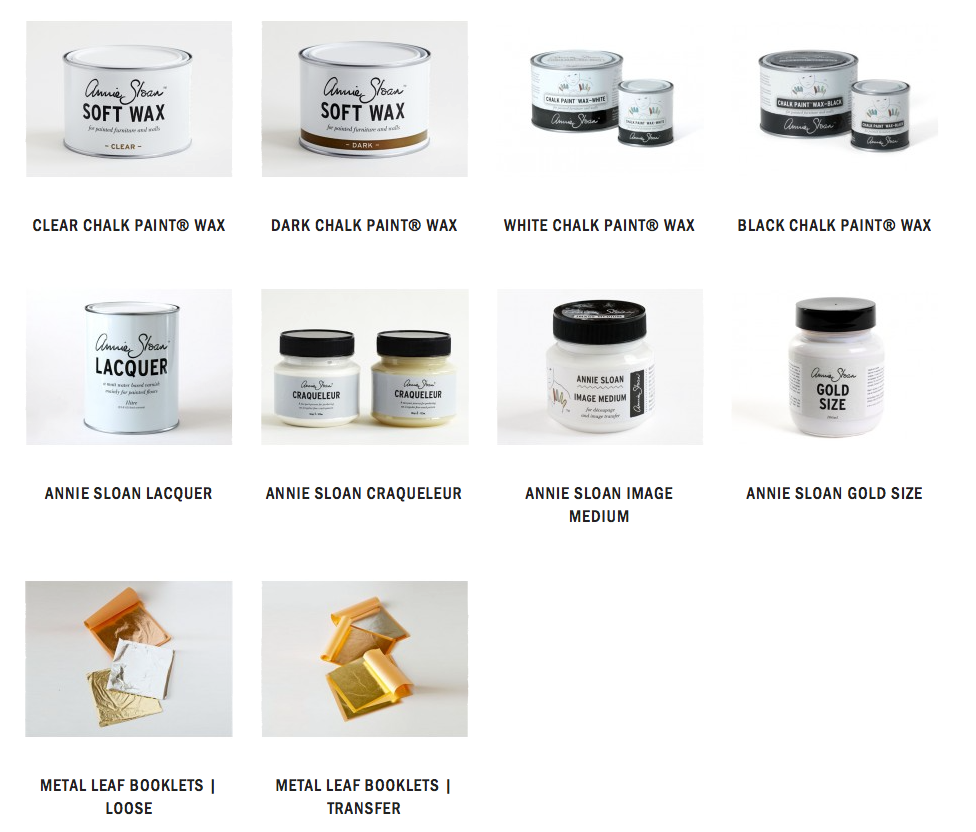
Alongside her unique and hugely versatile decorative paint, Chalk Paint®, Annie Sloan has developed a whole range of products that will help you achieve wonderful results quickly and easily. These include crackle varnish, gilding sets, lacquers and decoupage varnish – everything you need to become an accomplished decorative painter.
